
Showing posts with label Maya. Show all posts
Showing posts with label Maya. Show all posts
Wednesday, June 5, 2013
Major Project: Fluid Effects Playblast

Tuesday, June 4, 2013
Major Project: Polishing Environments
This time I experimented more with lighting, rendering and post editing techniques. I randomly added some moss and rock textures in between bumps to make it look more organic. In order to make our environment even more photographic I added just a little bit of chromatic aberration and grain to the finished render. Imitating camera flaws might bring some more life to our animation.
Combined layers with color correction, chromatic aberration and grain:

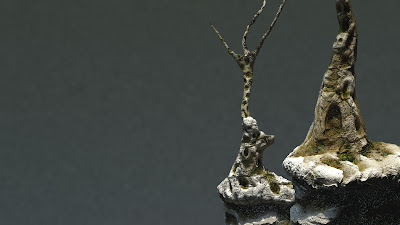


Combined layers with color correction, chromatic aberration and grain:

Separate Layers:


Thursday, May 30, 2013
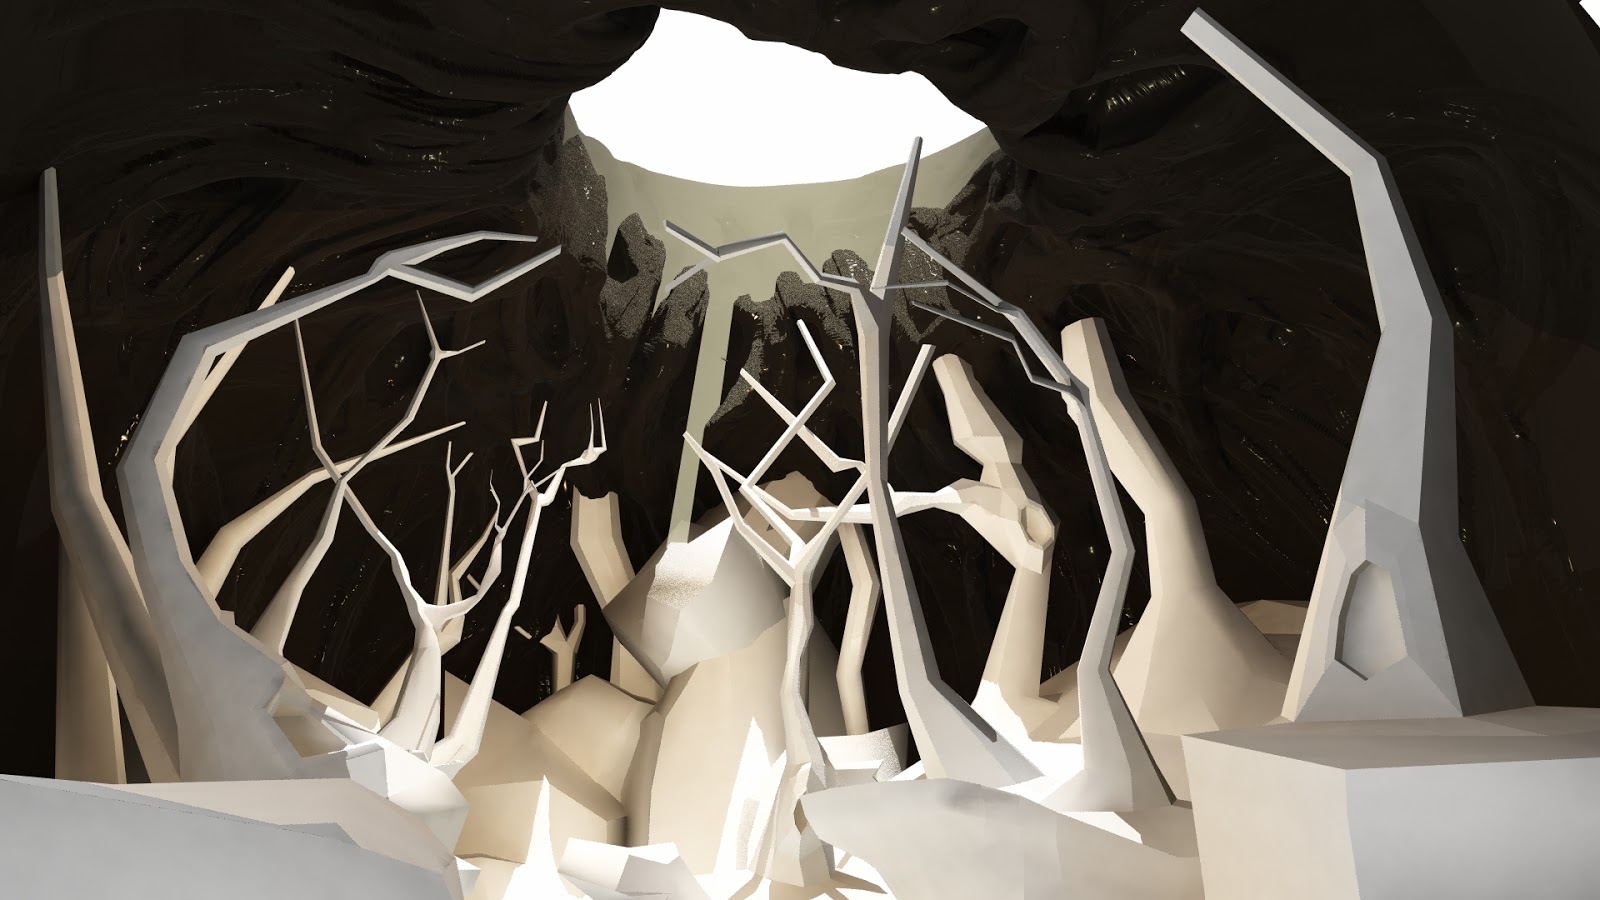
Major Project: Canto XIII Further Environment Developement
Even though our project is already handed in there is still a lot to do to finish it. We had to fix a lot of issues and bring everything back to maya. New environment actually starts looking pretty good now.



Tuesday, January 8, 2013
DMM Test
Here is a frame from Digital Molecular Matter plug-in test combined with audio vawe in the object's toughnes which makes it shatter from the sound waves. This takes a while to simulate, but looks promising.

Saturday, December 22, 2012
Burst Of Particles
In this test you can see over 2100000 particles and over 1000000 polygons. I still don't like the colors in this shot, the blur in the end doesn't look nice at all and I will also try to fill the bottom with something, so that it wouldn't look too fake. It is hard to make this shot a bit more believable even though the interior of Slip in opens up with all beauty, because colors in the original version were not natural, a bit too dark and pops out a bit too much from other shots.
Friday, December 21, 2012
Simulating random shapes with realflow
This is the second test of my liquid simulations. I generated random splashes with invisible objects. I will use this mesh as a base of deformations responding to the sound. This is my first high resolution simulation and in the end it might have around two million particles. I tried to reach more yesterday, but my computer crashed when it reached just a bit over three million. The reason of crashing was that I ran out of Ram memory, but it looks great anyway as it is right now.
Wednesday, December 19, 2012
Minot Project: Testing fluid effects and Realflow, changing cuts
Today I've been working on fluid effects and Realflow to see how they could look in realistic environment. These tests are glitching out very badly, but they still have potential to become into something more interesting.
Sunday, December 16, 2012
Tracking test
In complicated environments that I have to make the motion tracking easier for myself instead of trying to manualy track high contrast points I had to track the environment in after effects, add solid object and use it for match moving of 3d camera.
Even with nice reflections from my hdr maps the object seemed a bit fake compared to the environment. Using lens blur from time to time makes it look a bit more organic. At the moment I should also work out how I want to show the shadows, because it will help to understand the position of the objects even better.
Even with nice reflections from my hdr maps the object seemed a bit fake compared to the environment. Using lens blur from time to time makes it look a bit more organic. At the moment I should also work out how I want to show the shadows, because it will help to understand the position of the objects even better.
Monday, December 10, 2012
Rest HDR Maps
Today I was lucky enough to get last shots that I needed, so straight away I could just start doing all the rest of the HDR maps needed. Right now I will finish up my shot sequence and start the Match moving process.


Saturday, December 1, 2012
First HDR Map
I did this using Photoshop and HDR Shop programs to edit pictures of a chrome sphere. I combined five pictures with different exposure values from each of two positions to create high dynamic range pictures and unwraped the environment from the reflection of the chrome sphere by using HDR Shop. I took pictures from four positions, but two were actually completely enough to create this.

Thursday, November 15, 2012
Particle Test
I decided that I could use invisible nCloth for the base of my movement which would emit loads of particles having their own animations and it would also have some turbulence controlled by the soundvawe node . At the moment there is way too many particles, because it is hard to see anything through them, but when their amount will be also controlled by the sound, it might give some interesting bursts.
Monday, May 21, 2012
Latest Maya tutorials 21/05/2012
Mental Ray Car Shader:

Illuminance Depth with a Mask:


Illuminance Depth with a Mask:

Mental Ray Sub Scattering:

Sunday, May 20, 2012
Water Effects testing
For the project that I'm doing right now I'm going to use ReelFlow engine to generate realistic water particles. Here are few first tests. To make it more realistic I should use more particles and polygons on baked mesh.


Thursday, May 17, 2012
Shoes
Last few weeks I was working on a little shoe animation. It will be used as a wall projection in a party. Here is the work progress.
Pre-viz:
First render:
Second render:
Final render with alpha channel:
Pre-viz:
First render:
Second render:
Final render with alpha channel:
Tuesday, May 1, 2012
VJ party animation test
Currently I am working on random VJ party animations. This is the first test and hopefuly from this point I will start uploading more and more examples of my work.
Monday, April 23, 2012


Sunday, April 22, 2012
Grendel's presentation
As I was advised I edited my video a bit after presentation. It was still not that easy to decide what should I cut and what I should't and I hope that it actually helped.
Tuesday, April 10, 2012
Zbrush magick

And so the image is very pretty, but on the other hand not very useful. I tried to import the displacement map to maya, but it just didn't worked for me, the whole model just went crazy. Hopefully I will manage to solve this problem quickly and will be able to start rigging. This render is taken straight from Zbrush and I am very glad to see that it looks very similar to my concepts.
Sunday, April 8, 2012
UV mapped Grendel

Few last touches, some more cleaning up and character will be finally ready for z-brush. I Finished UV mapping and added some asymmetric details.

Monday, April 2, 2012
Quick nCloth Test
I was surprised how simple this is. It is really fun to play around with the controls and see what happens in Maya. I also added some more detail to the face (sort of beard thing) and adjusted his profile as Meg advised me, so that it would look more balanced and not so stiff.
Subscribe to:
Posts (Atom)